


Paper Pulp is a texture rich material that can be used in a variety of craft projects. Paper pulp can be molded into whatever shape you need, making it especially wonderful for young children and useful for thematic units. This is a messy project so be prepared!
Materials:
- Paper
- Water
- Blender

Watercolor Fall Leaf Art Project
This geometric fall leaf watercolor project is sure to be a hit in your classroom! can be done alongside an art lesson on hues, and radial art, or even adapted for cubism.

Fall Art Project for Kids
This fun fall art project for kids is simple enough for students of all ages! All you need to do is collect some fall leaves and break out the paint!

Zentangle Fall Leaf Art Project for Kids
This Fall leaf art project for children combines zentangle with oil pastels and watercolor for a stunning look. Great for children in late elementary or Middle School.

Fall Leaf Watercolor Spray Art Project for Kids
This fun fall art project for kids will have your little ones begging to make more! Each leaf is silhouetted with a variety of watercolor sprays!

Texture & Patterned Fall Leaf Art
This is a Fall Leaf Art project for children of all ages. Using simple techniques, children can design a leaf with multiple colors and textures for a vibrant outcome.

Fall Leaf Art Project For Kids
Students of all ages love this Fall Leaf Art Project. Using Chalk Pastels, this project is great for a First Day of Fall Art Project.

Abstract Fall Leaf Watercolor Art
Here is another stunning fall leaf art project for kids! Using neon watercolor paints your kiddos can create this stunning abstract painting in no time!

Painting Fall Leaves Art Collage
Here is a SIMPLE yet exciting way to capture some of those beautiful fall colors in your classroom. Students collect their own autumn leaves, paint and print them to make a unique fall collage.

Parts of a Leaf Worksheets
Free parts of a leaf science notebook printables. A great set including a chart, labeling worksheet, cut and paste activity, notebooking and coloring page.
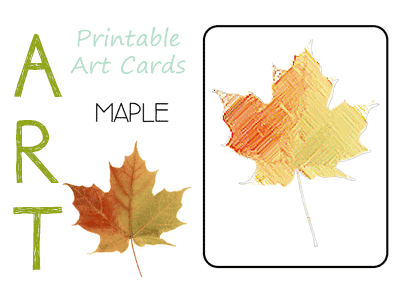
Printable Fall Leaf Art Cards
This set includes five different leaves
each with different shapes, colors and textures for your little artists to explore.
These are super simple to print out and lay on the table for some quick art projects this Fall!

Fall Leaf Printables
A great set of free fall leaf preschool printables, games, worksheets, activities and resources.

Leave a Reply