


Fun Abstract Art for Kids! We’ve created a simple, yet fun, Kandinsky art project for students learning about abstract art! With this low-prep art project, your kiddos will make a TON of Kandinsky circles. These addiciting concentric circles will soon take over your classroom! But don’t worry, they look amazing when displayed together in groups, you’ll have your own Kandinsky Mural by the time your kids are finished.

Abstract Art for Kids
Not only will your art room be filled with pops of vibrant color, but your students will be working on fine motor and key art techniques along the way! Best of all this low-prep project requires minimal supplies, and is a TON of fun!
Kandinsky Circles Art Project

Step 1:
This project requires multiple colors of soft craft foam. You can certainly use vibrant cardstock paper, or construction paper if that is what you have on hand. However, the foam adds a 3-D element to these projects and you’ll see that the thickness helps the layers stick together in the coming steps.

Step 2:
Have your student cut out a variety of circle shapes from all of the different colors. Cutting foam is FAN-diddly-TASTIC for young artists and budding fine motor skills. However, you can certainly cut these circles ahead of time (HINT: I’ve got an amazingly handy alternative tip for helping students get the correct sizes for the circles……keep reading……

Step 3:
So, once you have the foam circles all cut out, assembly couldn’t be easier. Your kiddos will take a small metal brad, and poke it through the center of the smallest circle they want on top. This again, is another fun fine motor skill for the younger crowd.

Step 4:
Now, choose the next color for the circle and POKE the brad through that layer. Can you see where this is headed here?

Check out those fabulous circles of color! I’m feeling a bit of a Willy Wonka vibe with these complementary colors! Show children how they can pair these complementary colors next to each other to make them pop!
Step 5:
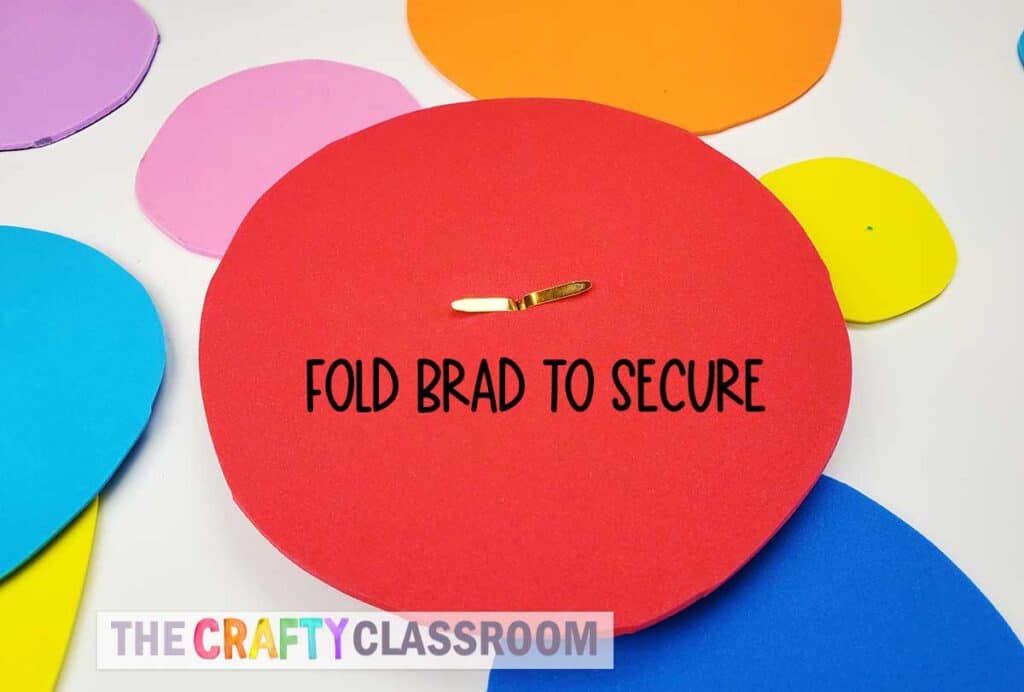
Once you’ve added all your layers of circles, flip the entire project over and fold the brads to secure the layers. This will keep the circles tightly attached, and you’ll find you can even turn them and rearrange them slightly to get the effect you’re looking for.

Have fun with the color combinations and really try for some bright, abstract creations! Dont’ worry if the circles are not perfectly shaped….they actually look BETTER when they are organic.

Kandinsky Circles Have Never Been so SIMPLE!
Are you ready for that HANDY TIP I promised you! Well here it is. After you poke the first circle through, you can actually just poke the foam sheet itself. Then you can easily see the size of the circle that you want to cut for your next layer. GENIUS right? I didn’t realize it till the end….but I got there folks and I have a concept photo to prove it. This will be especially helpful for the younger kiddos to (NOT WASTE any of the FOAM) see the size they need next.

Check out those colors!
Because we used vibrant foam, the colors just POP right out of the photo……where is a school bulletin board when you need one?

Kandinsky Collage Anyone?
I’m even LOVING the scraps of rainbow foam! These could easily be used to create a 3-D Collage the next day. How beautiful would that look on a black background. You could even find a way to tie in some Matisse art projects with those paper cuttings.

If you want to finish the work with a more polished look, you can frame your circles by mounting them to more colored foam. You can even overlap some of the circles for a fun look. Choose background colors that complement your circles to really make them pop!

Looking for more Famous Artist Art Project for Kids?

Leave a Reply