Nativity Art Project for Kids

Christmas is right around the corner (is it December already?) and today I’ve got a brand new art tutorial for children. This project can be done by students of any age (with adult help) but it is recommended for children 8-12 years old. The best part of this project is that it requires very little materials and the results are stunning!
Materials:
- Chalk Pastels
- Black Paint
- Glue
- Black Construction Paper

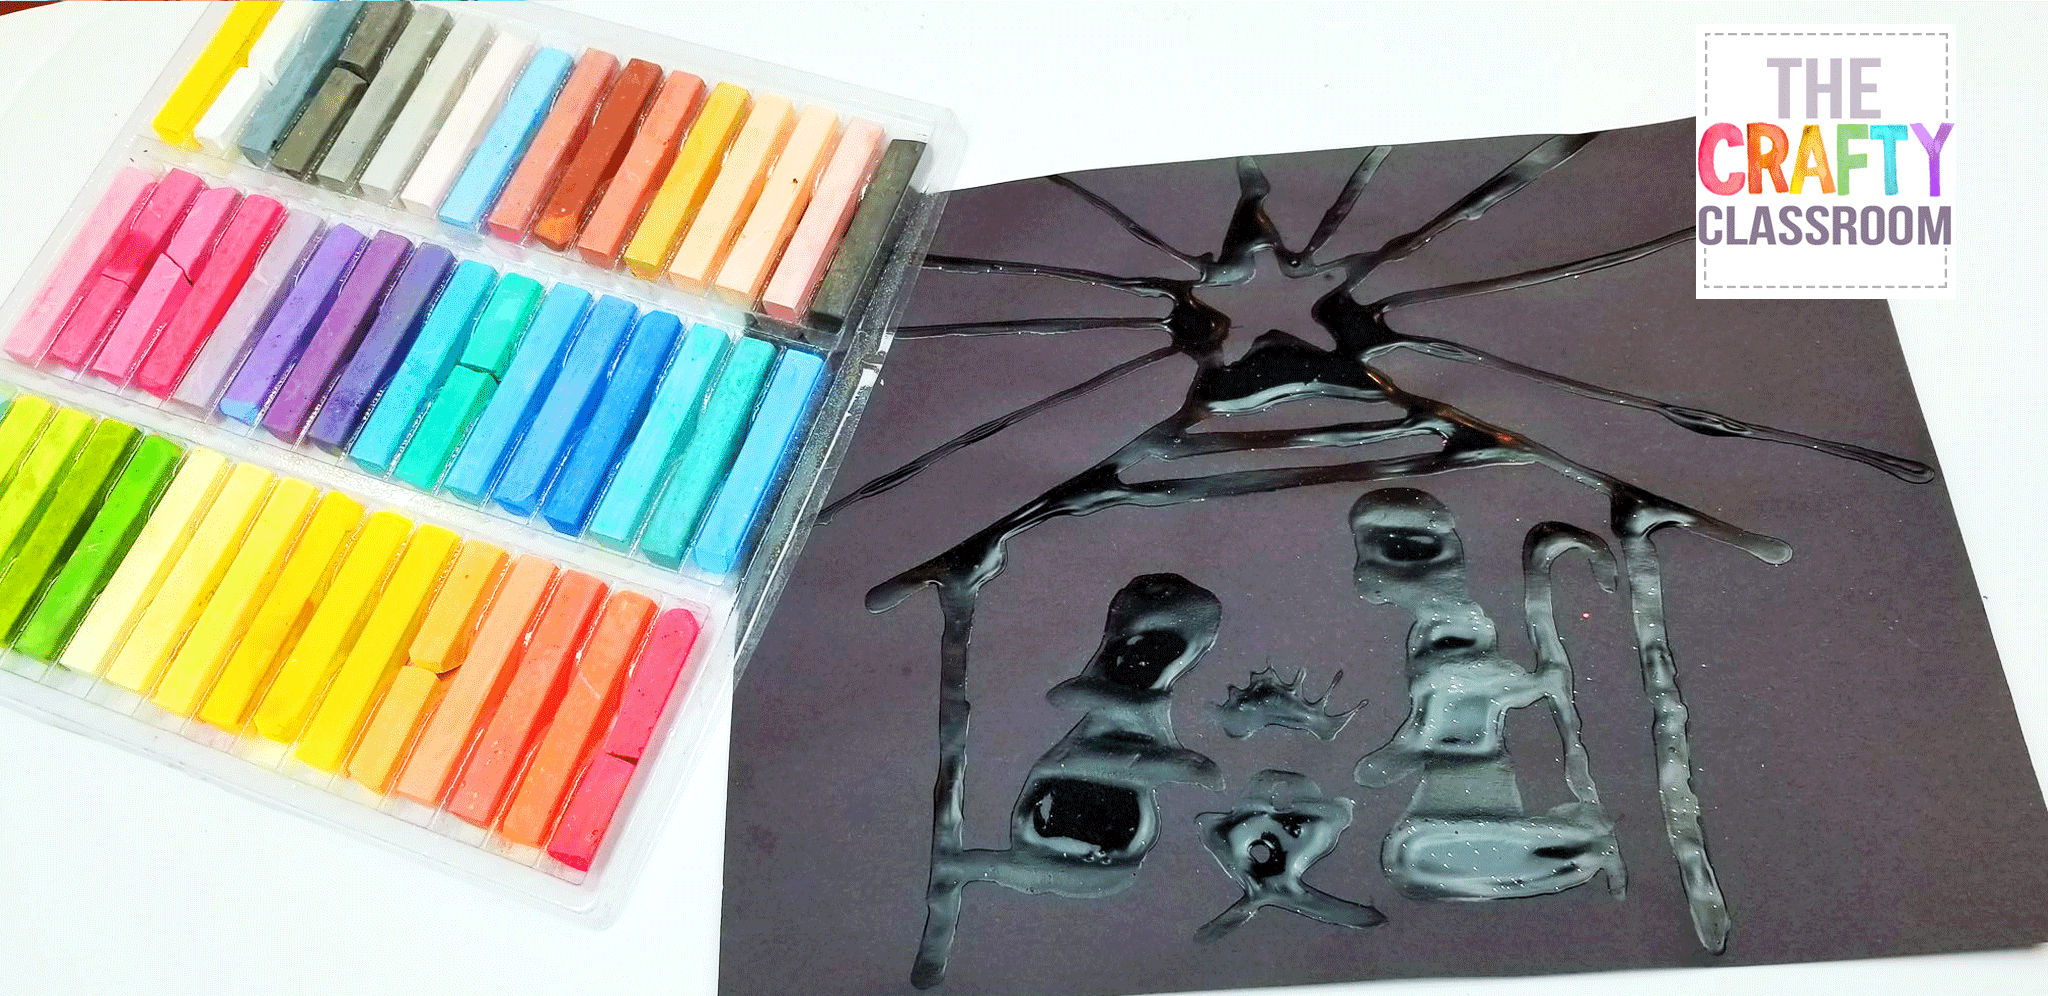
Step 1: Make Black Glue
Black glue is made simply by pouring black paint into your glue bottle. I emptied our glue bottle just a bit then filled it up with paint. Shake it around quite a bit to mix it in.
Step 2: Draw Your Nativity Scene
Using your black glue, draw a nativity scene. Start with the basic outline of the stable. Put a star on top, then draw rays coming from the star. Make the baby Jesus in the middle of the stable then create Mary and Joseph. If you are doing this project with very young students consider making this glue outline before hand, or doing something more simple like a Christmas Star.
Set aside to dry for a couple of hours.
Step 3: Color the Star
Using the chalk pastels color the star yellow, and each one of the rays a different color. Use your finger to help the chalk get into the cracks.
Step 4: Illuminating the Stable
Color the majority of the stable white with just a line of blue around the inside edge. Leave room near the bottom to draw the ground.
Step 5: Blend, Blend, Blend
Use a clean finger, and make small circular motions to blend the blue into the white as shown.
Step 6: Golden Glow
Using a golden yellow, color and blend to make hay at the bottom of the stable. Illuminate the manger to show the Baby Jesus. Blend with your finger to putt the color outwards.
All Done!
Hang your stunning Chalk Pastel Nativity Scene where you can enjoy it all year long!
Looking for more Christmas Activities? Check out our Christmas Activity Pack


Comment (1)
[…] Nativity Art Project | The Crafty Classroom […]