


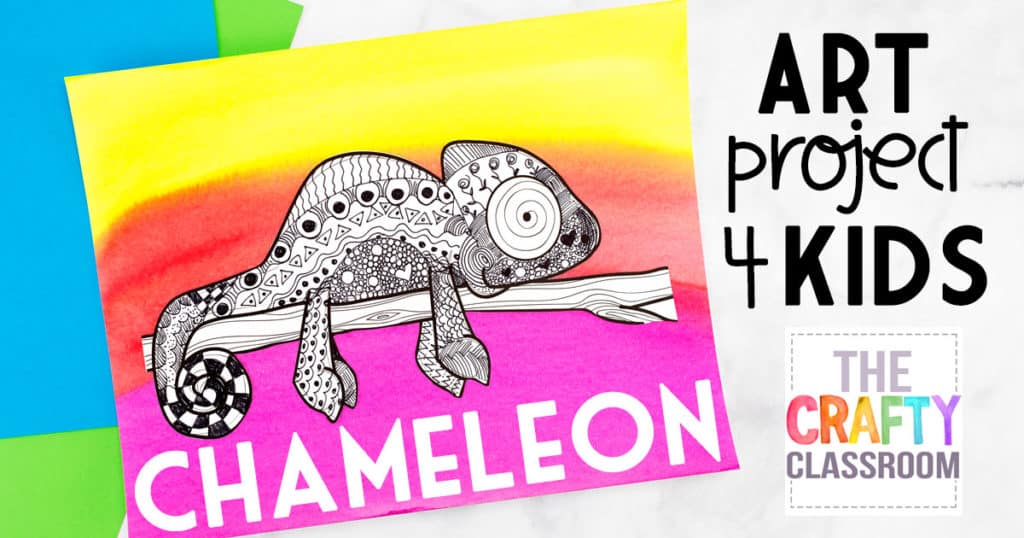
Zentangle is like doodling with a purpose! These Chameleons are full of character and children can fill them in with different patterns and zentangle designs. We provide you with two different templates to make these stunning Chameleons!
Chameleon Art Project Materials:
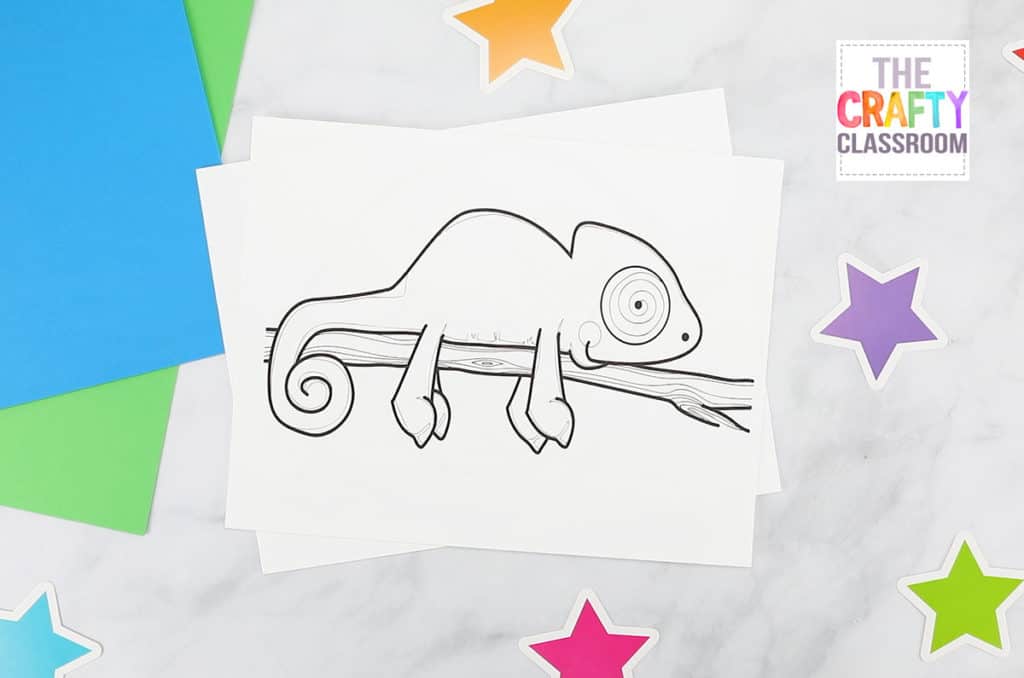
- Chameleon Templates
- Black Pen (I use Sharpie Medium)
- Zentangle Art Cards
Chameleon Art Project For Kids
STEP 1
Trace your chameleon with a thick sharpie marker. If you printed your template in full black ink you will skip this step.
STEP 2
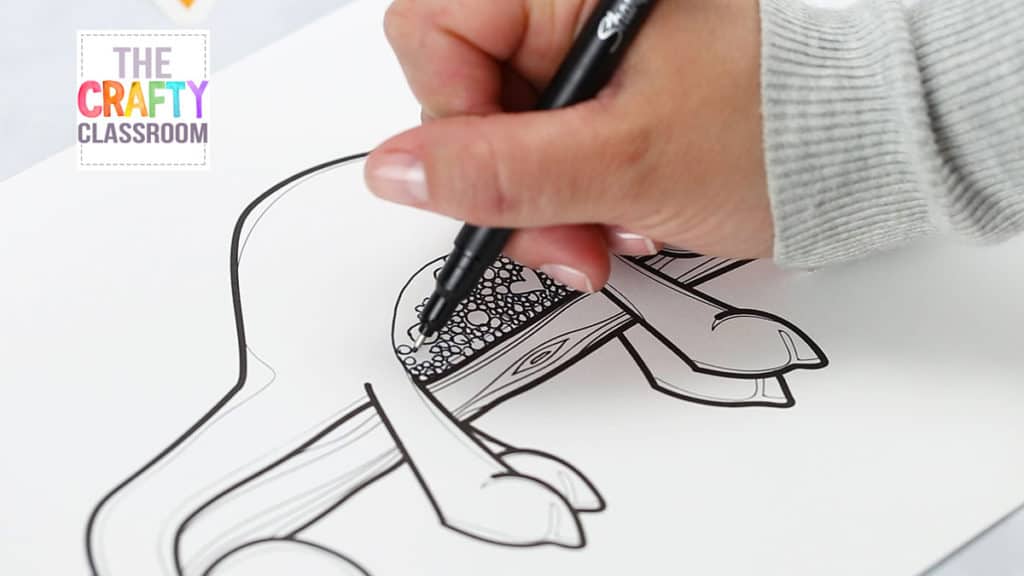
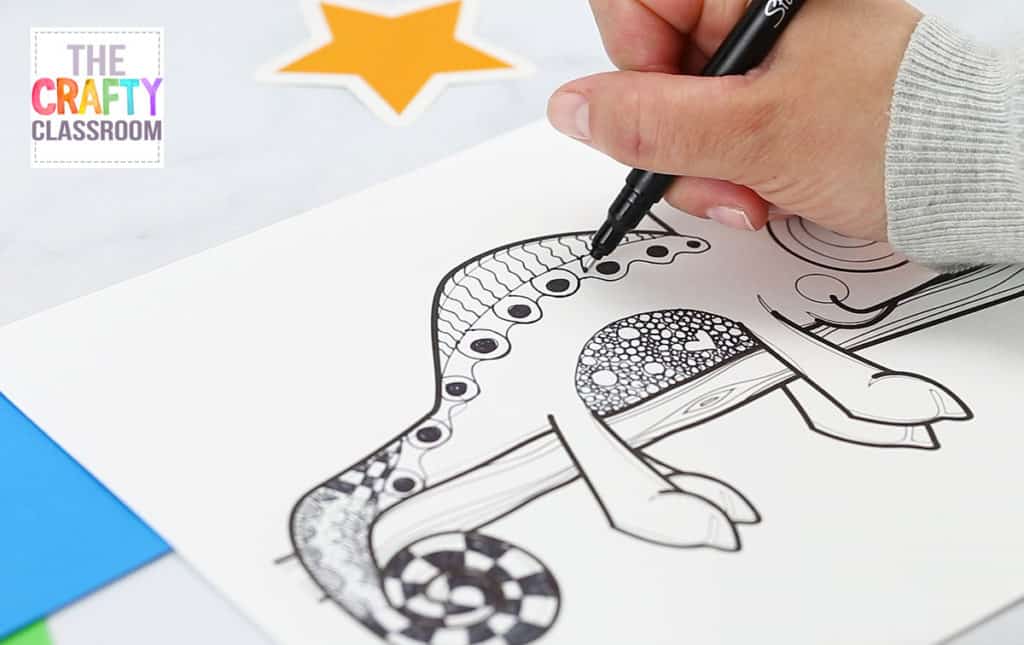
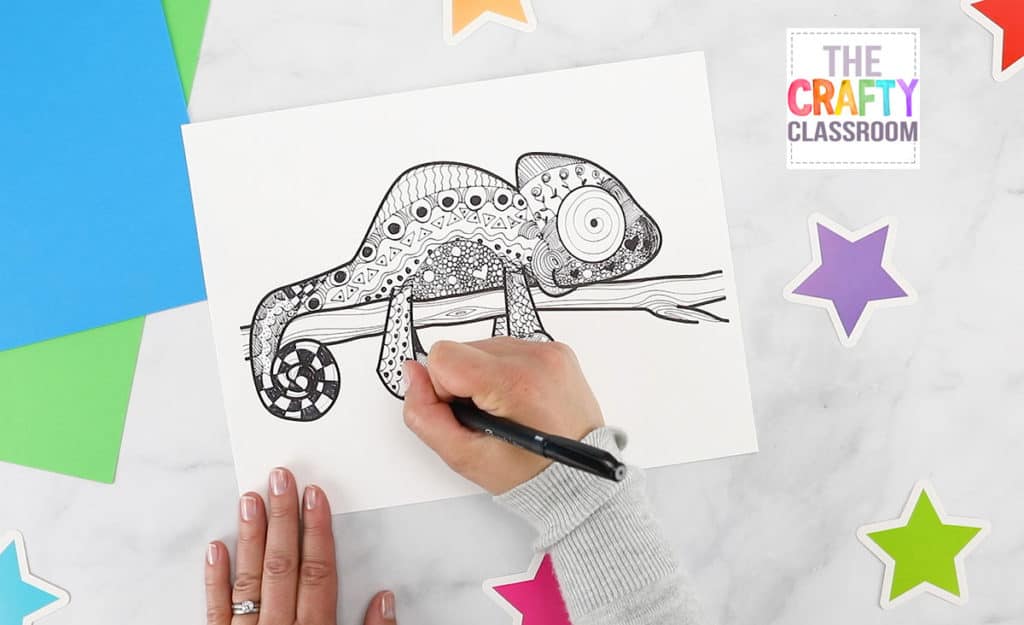
Begin to look for areas that you want to separate for a pattern. Zentangle is all about sectioning out slices of your picture and then filling it with a pattern. I’m filling his belly with scale-like circles and making room for a heart. I’m making sure that my shape is completely filled with the pattern.
STEP 3
Adding more patterns, this time to the legs and tail. I’m choosing patterns that will complement the shape of my chameleon. For example, on the legs, I’m curving my triangles along the curve of a 3D leg. It gives your picture credibility if you can find areas where you can blend your pattern with your shape.
STEP 4
Almost done! Don’t be afraid to leave white space, it will draw the viewers eye to that spot. I’m going to leave blank space around the chameleon’s eye.
STEP 5:
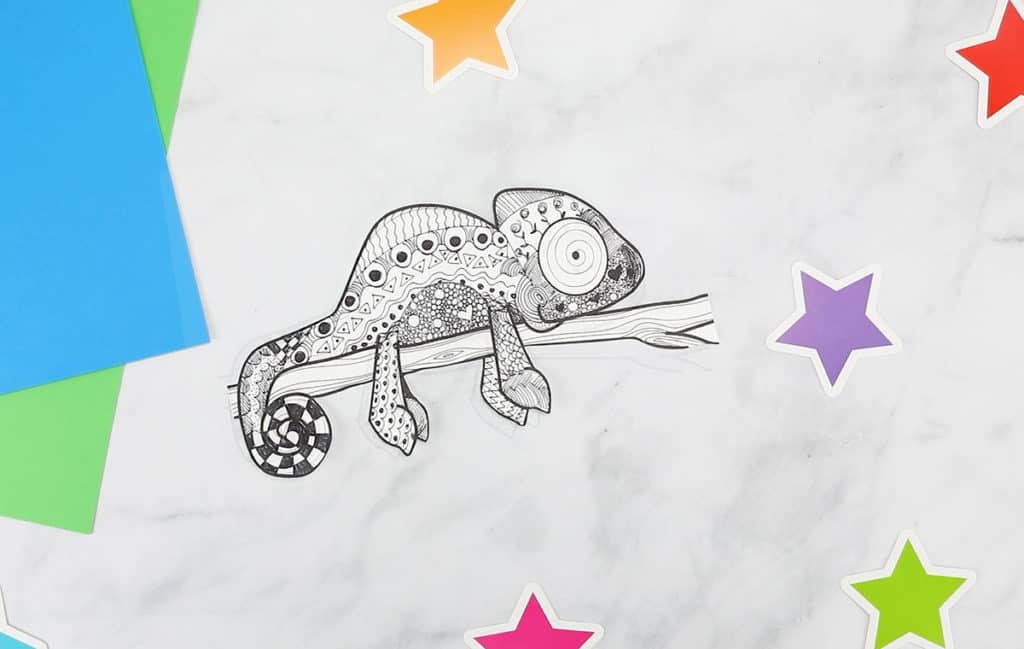
Cut out the chameleon very carefully and set asside for later.
STEP 6:
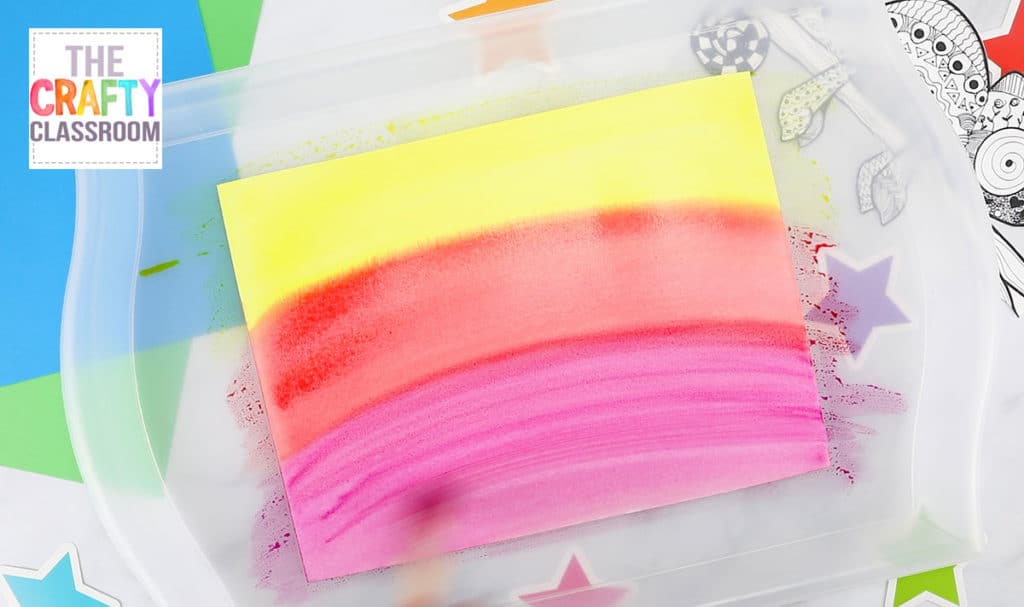
Use watercolors to creat a vivid background for your chameleon. Start with a sheet of watercolor paper. Use bright colors and a wet brush to create long horizontal strokes across the page. Overlap slightly to blend the colors.
ALL DONE!
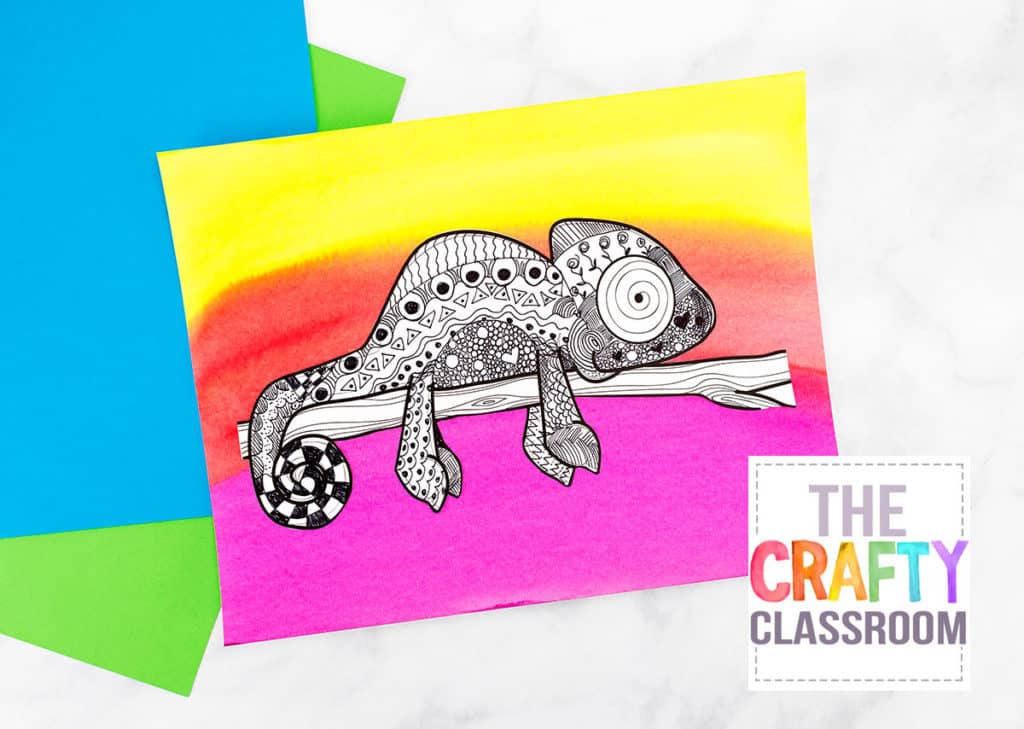
Once your background is dry, glue your chameleon to your sheet and hang up in your classroom for the world to enjoy!
Leave a Reply