


Looking for some fun winter art projects for kids? This DIY Snowflake Art Project will give your kids a creative craft to enjoy and even gift. It’s super easy to make, and who doesn’t love a gorgeous keepsake.
There are so many ways to enjoy this Snowflake Art Project. Using a little bit of ingenuity, you can shrink this beautiful art to fit a Card and send it to friends and family. It’s a wonderful project for multiple ages and whether it’s one student or many, you’ll love the simplicity of assembly. However you decide to showcase, this wonderful work of art will bring joy year after year.
SNOWFLAKE CRAFT MATERIALS
While there are a ton of fun winter Crafts out there, this holiday craft is creative, crafty, and super special. With just a few materials, your child will have a beautiful masterpiece in just a few minutes.
- Snowflake Art Craft Template
- Bleeding Tissue Paper (different than normal tissue paper)
- Elmers Glue
- White Cardstock
- Black Construction Papers
- Container with water
- Paintbrush
SNOWFLAKE ART PROJECT INSTRUCTIONS
- Print our free Snowflake Art Craft Template on white cardstock paper. We’ll be getting the paper wet, so you’ll want thick paper if possible. Turn over the template so that you are creating on the backside.

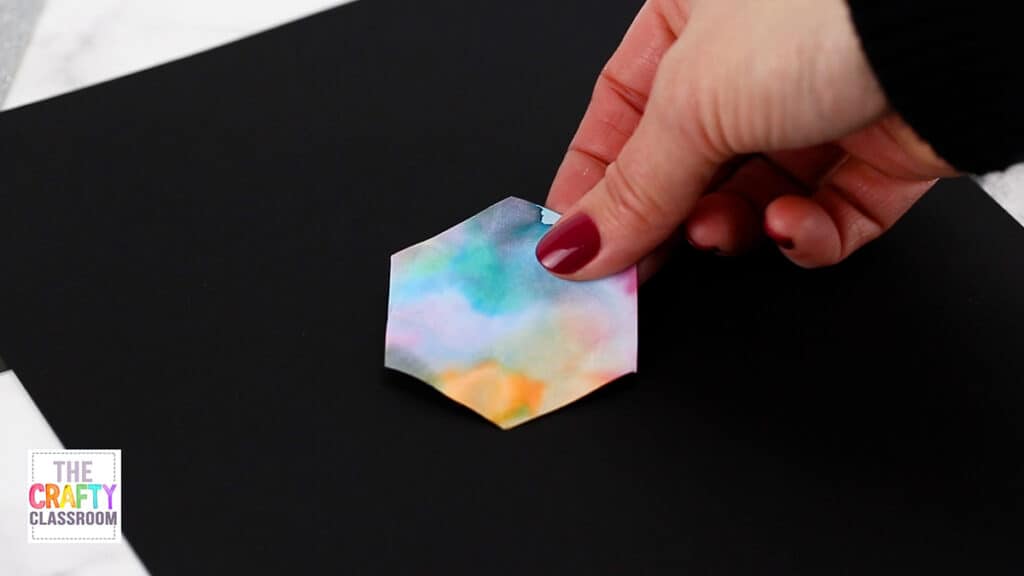
2. Use water to wet the paper a bit, then add the bleeding tissue paper circles in an overlapping fashion. You’ll want to think about your color choices so that you have colors blending into different hues, or even complementary colors to help the project pop. Check out the first photo above noting the color tones, using pastels for the single circles and darker colors for the base.

3. Add water over the top of the circles to ensure they are bleeding the colors onto the paper. However, be careful not to add too much water or you’ll get a “muted” look as the colors will be washed out a bit. Just enough water to transfer. Try it on scrap paper for best results.

4. Once you have the outline filled with tissue paper, set the project aside to dry. Use a blowdryer set to “low” to speed up the drying process.

5. When dry, shake or peel off the tissue paper. Once the tissue paper is removed, the color still remains. Flip your project back over so you can see your gorgeous snowflake outline.

6. Cut out all of the shapes following the black lines so that your snowflake is in several pieces. You’ll put them all back together so note unique pattern.

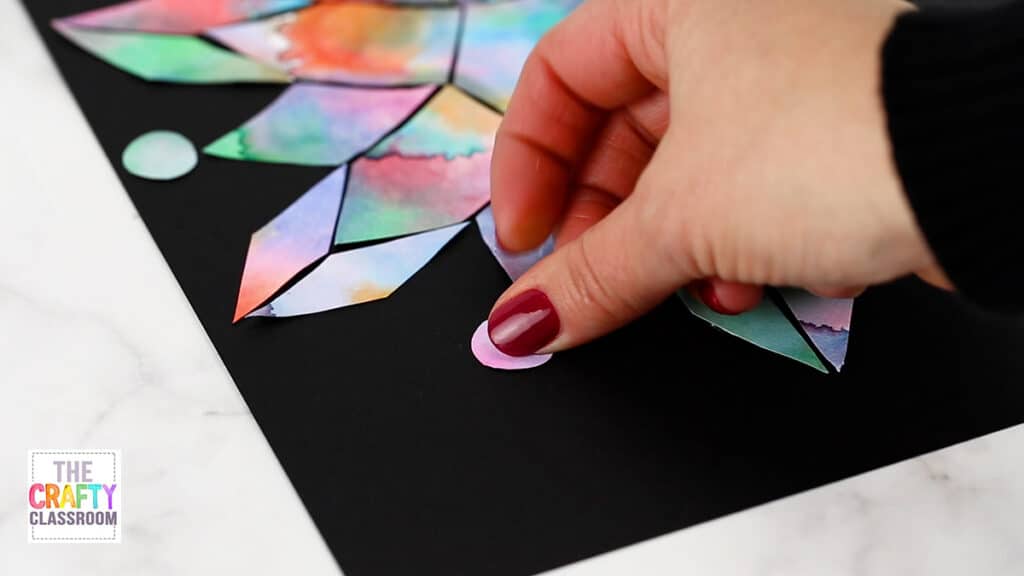
7. Choose a piece of construction paper with a dark color as your background. Begin laying out each element of the Snowflake in respective order.
Leave space in between each snowflake pattern as shown below. The space will help make your snowflake POP!
8. Glue all pieces in sequential order as shown above.

9. Your Crafty Classroom Snowflake Art Project is complete!
Don’t forget to frame your project to ensure it lasts a lifetime! What a fun Christmas decoration to pull out each winter or Christmas. If you’d like to scale down this project and create a set of unique Christmas cards, it’s really simple to do! Just set your printer to print multiple pages per sheet and you’ll have a template perfect for cards of any occasion.

Comments (15)
This is a nice project that we are getting ready to do. I had never heard of bleeding tissue paper before, I’m excited to see it being used by the children.
Also, I don’t think you meant for us to print the template on black cardstock, right?
Thanks for the idea!
Hello! So glad you are giving a try, it’s super fun :) Yes, that is a typo, it should be White Cardstock, post has been updated!
Thanks,
Valerie
where do you get tissue paper circles?
I know this is a late reply, but just in case others have the same question. Here is my link to the Bleeding Tissue Paper: https://amzn.to/3KOReiQ
wouldn’t this work with just doing watercolors?
Sure! You could use watercolor as well. Bleeding tissue paper just adds some process art to see the transfer of color which is a little extra exciting for kiddos. :)
This looks so like so much fun. I was curious about how much tissue paper to get for a class of 24 students? 4800 or 9000? What is your suggestion?
Thank you
Oh goodness, I’m not quite sure, Im sorry! Hopefully someone who has used this with a group can comment. :) Just be sure to get Bleeding tissue paper! NOTE: We have quite a lot of other bleeding tissue paper projects if you end up with extra—check out this seahorse project for summer: https://thecraftyclassroom.com/crafts/ocean-crafts-for-kids/seahorse-art-project-for-kids/
2400 for a group of 4
Hi Valerie,
I just did a trial run of this project before I teach it to my class. I purchased the bleeding tissue paper and used that, but found that the color didn’t transfer entirely and I was left with hardly any transfer of color in big gaps. Wetting thee paper before laying down the tissue paper helped, but still didn’t solve the problem. Any suggestions for getting the color to transfer all over? Thank you. It looks like such a fun, beautiful project. Jan
Did you use the one or two inch circles?
Hi! Is there a reason to not just apply the bleeding tissue to the front of the snowflake?
If our class is short on time- I thought maybe we’d just cut out the main showflake and glue the whole thing onto the paper instead of cutting all the sections…
Hi Audra, I know this is a late response, but in case others had the same question. The reason for applying to the back is so the black outline of the snowflake doesn’t show through. You can certainly do the front as well.
Hello!
I tried using white card stock but none of the colors bled through to see on the other side of the paper. I tried it with regular paper and it bled through but excessively so. Would you please tell me what kind of paper you used to make your colors transfer?
Hi Elise, I know this is a late reply, but in case others have the same question. I did this project with Cardstock paper that I picked up at Walmart. (Just a general thickness, but no gloss or anything like that added to it)
If you’re having difficulty with cardstock paper, maybe try watercolor paper? Usually, that is thicker and absorbs the water well. Hope that helps.