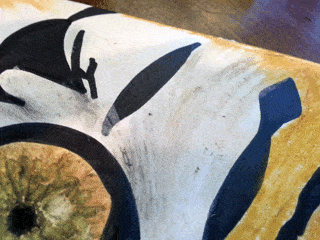
The tiger is India’s national animal. It’s strikenly beautiful with the contrasting markings of black, white and orange. This oil pastel project is just right for your studies on India. Children will be amazed with the work they can do when given small amounts of instruction.The peacock is the National bird of India. It’s certainly one of God’s most beautiful creatures, and even young children can make these wonderful pictures. We provide you with step by step drawing tutorials, as well as instruction on using oil pastels to bring your peacock to color.
This tutorial is split into two parts:
Materials:
- Cardstock or Pastel Paper
- Oil Pastels
- Pencil and Eraser
- Black Line Marker
- (Sharpie is fine)

Prep: Draw Your Tiger Eyes
If you haven’t already, check out this simple tutorial for drawing your tiger eyes first.

Step 1
For this art project we’re using our Crayola Oil Pastels. We’re using: white, peach, light brown, light orange, light green, medium green, yellow

Step 2
Using your light orange, color in all the areas shown. I always refer to the inspiration photo to see which way the tiger’s fur is moving, and make sure that I color in that direction. This is important later as we blend colors.

Step 3
Use your light brown and begin adding little marks of color where the eye meets the nose. Use your finger to blend in the direction of the fur.

Step 4
Add in more blended brown in the upper and lower corners.

Step 5
Use peach to color in the eye, leaving a crescent moon shape at the bottom. Use your light orange to draw lines radiating form the pupil. (see next photo)

Step 6
Use your light brown and draw in more lines radiating from the center. Lightly blend with your finger.

Step 7
More lines with black. Gently TAP the black to blend it in.

Step 8
More lines with light green. Tapping to blend.

Step 9
Add a few dabs of yellow. Add a crescent line of yellow at the bottom of your white mood.

Step 10
Use white to go over your crescent moon, then add a white circle just above and right of the pupil.

Step 11
Repeat these steps for the other eye. Notice the white circle is on the upper left of the pupil (like a mirror image)

Step 12
Using your white, begin pulling the orange fur down in the direction that it goes. Refer to your inspiration photo often as a tigers fur changes direction often!

Step 13
You can add small dabs of black, then blend them in with your finger. This will create a depth to your picture.

Step 14
Make sure you’re finger blending in the direction of the fur. A little black goes a long way!

Step 15
Use your black to go over your sharpie marker with little fur lines. I did this just so the black areas looked more like fur and had some texture to them.

Step 16
Choosing the color of your frame is half the fun, I love how black looked, and the bottom area is a great spot for tiger facts or even some poetry!
Suggested Resources for a Unit Study:


Leave a Reply